Create Your First Product
A product represents a product you manufacture or distribute: a pair of sneakers, a bottle of olive oil, a piece of furniture. Each product holds structured data, spawns batches of tokenised items, and ultimately becomes a verifiable Digital Product Passport.
Create the product
- Navigate to Products (
/products). You will see a grid of product cards with search and category filters. - Click New Product in the top-right corner.
- Fill in the basics:
- Name: the product's display name (e.g., "Heritage Leather Tote").
- Description: a short summary visible on the product card and passport.
- Category: select from the available product categories. This determines which data schemas are available.
- Image: upload a hero image (max 10 MB). This appears on cards, detail pages, and shared passports.
- Click Create. You land on the product detail page.
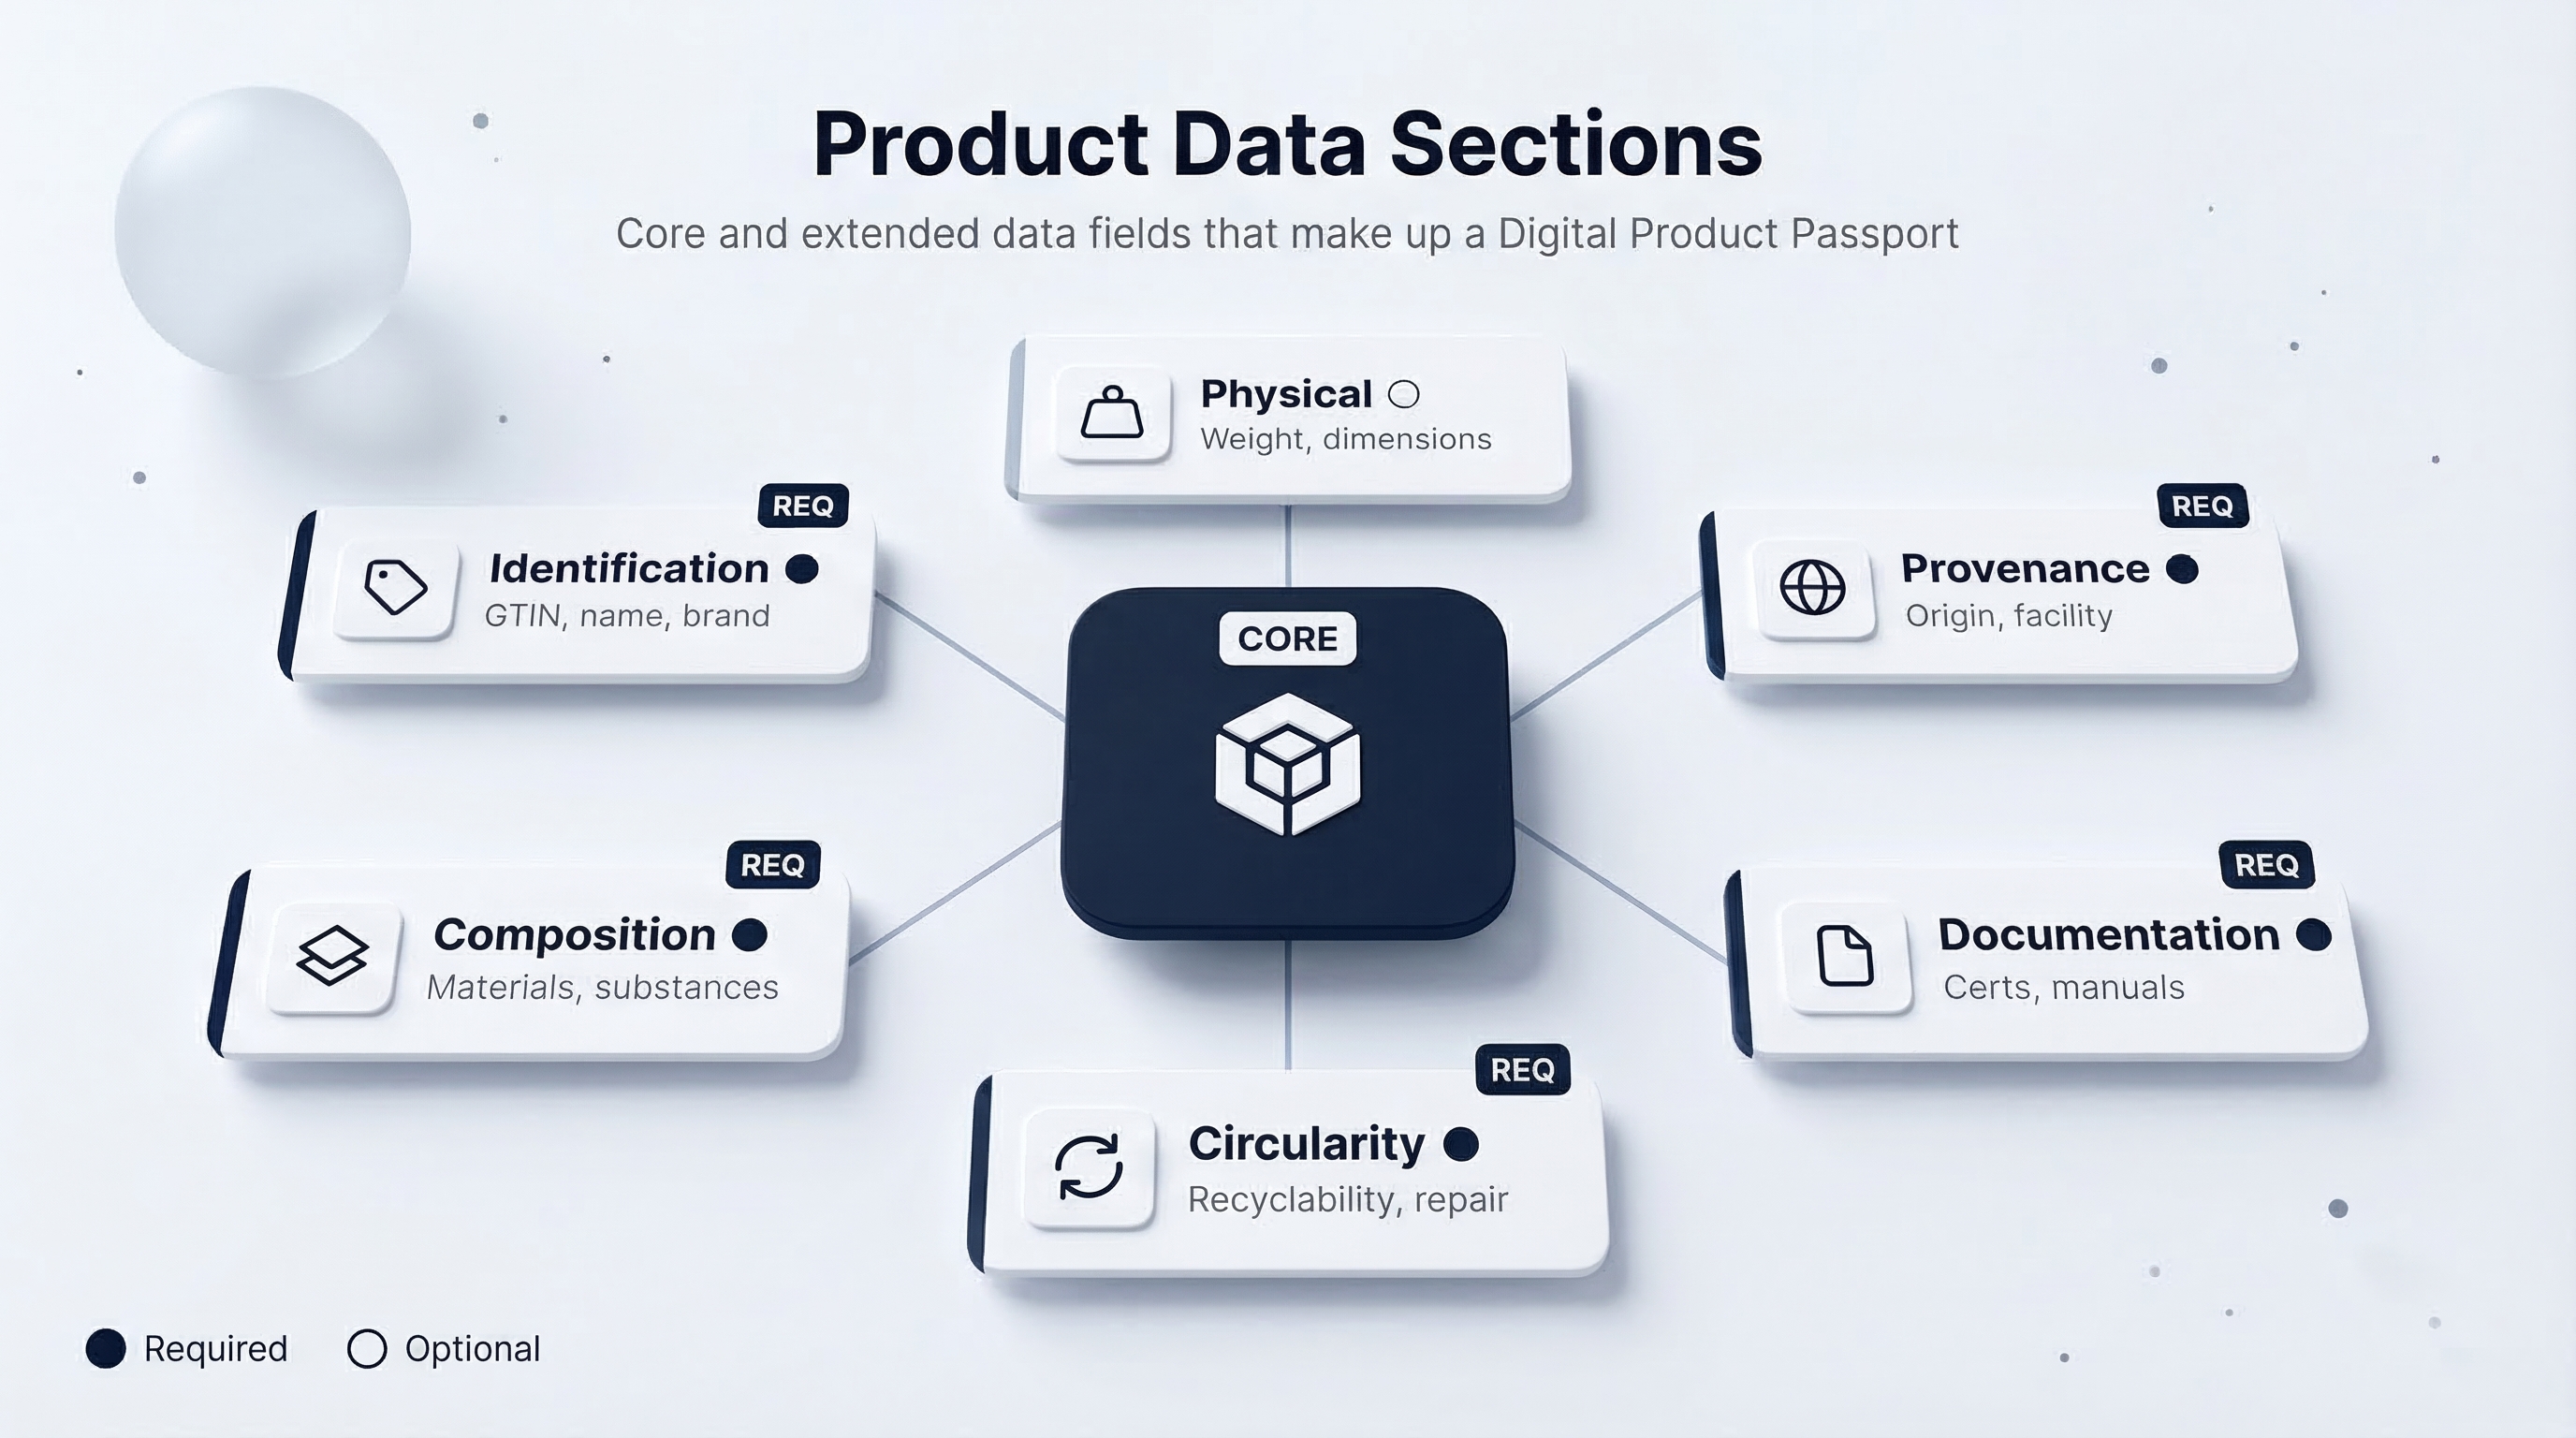
Fill in the data sections
The product detail page is organised into tabs, each representing a data section. These sections are driven by schemas: structured forms that ensure consistent, machine-readable data across the platform.
Click on any tab, fill in the form fields, and click Save. Each section saves independently, so you do not need to complete everything at once.
The forms you see are generated from JSON schemas configured for your product category. If a field is marked with an asterisk (*), it is required before you can share a passport. Optional fields still add value — the more data you provide, the richer the passport.
Register facilities
Facilities are physical locations linked to your products: factories, warehouses, labs, retail stores.
- Navigate to Facilities (
/facilities). - Click New Facility.
- Enter the facility name, address, and type (manufacturing, storage, testing, etc.).
- Save the facility, then return to your product's Provenance tab to link it.
Linking a facility to a product creates a verifiable chain of custody. When consumers view the passport, they see where the product was made, tested, or stored.
Upload documents
Go to the Documents page (/documents) or use the upload button within a product's Documentation tab:
- Click Upload Document.
- Select the file (PDF, image, or other supported format, max 10 MB per file).
- Add a title and document type (certificate, test report, safety sheet, etc.).
- Link the document to one or more products.
Uploaded documents are stored securely and can be selectively included in shared passports.
Create a batch
Batches represent production runs: a group of identical items produced together.
- From your product detail page, click the Batches tab.
- Click New Batch.
- Fill in:
- Title: a human-readable name (e.g., "March 2026 Production Run").
- UID Prefix: a short string prepended to each item's unique identifier.
- Description: optional notes about this production run.
- Save the batch. You land on the batch detail page with tabs for Data, Items, and Tokenisation.
Generate items
Items are the tokenised units within a batch. Each item gets its own unique identifier and a dedicated security key.
- On the batch detail page, click the Items tab.
- Click Generate Items.
- Enter the quantity (up to 5,000 per batch).
- The platform generates each item with:
- A unique ID combining the batch UID prefix and a sequential number.
- A dedicated digital identity (address + private key) for that physical unit.
After generating items, you are prompted to create an encrypted backup. Enter a strong password and download the backup file. This is the only way to recover item keys if you need to transfer or manage individual items later. Store the backup and password separately in secure locations.
What happens next
Your product now has structured data, linked facilities, uploaded documents, and a batch of tokenised items. The next step is to finalise this batch (freezing the item list and anchoring the data on the blockchain) and share it as a Digital Product Passport.
Continue to Share a Digital Passport.